Learn with

Customizing Screen Layouts
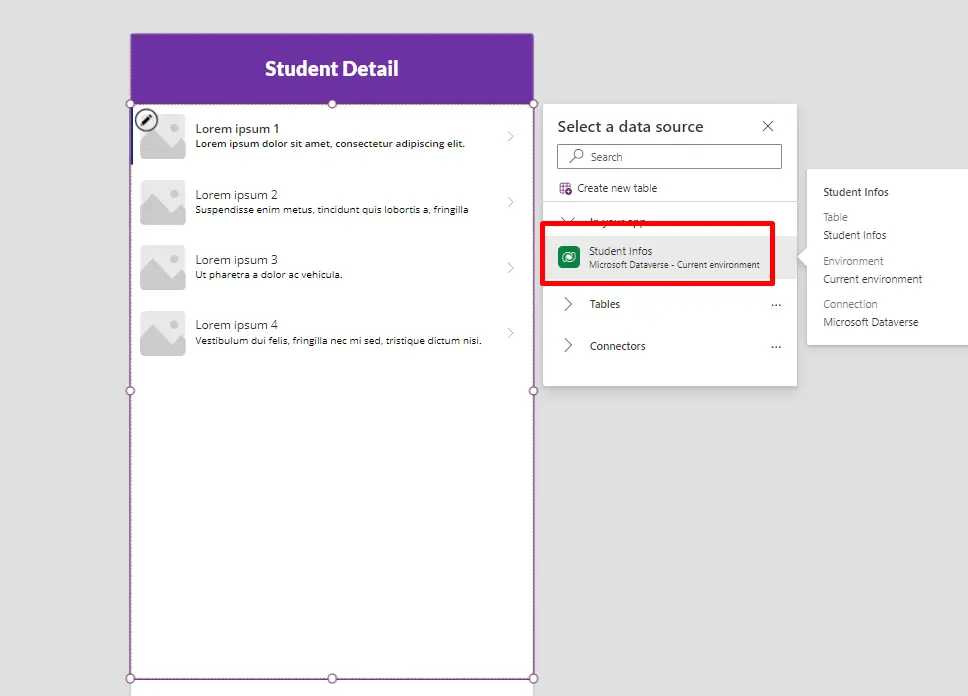
Next, let's focus on the detail screen. Add a gallery to the detail screen and select "Student info" as its data source. This will allow you to view records from the Dataverse.
- In the first screen (New Student Screen), add a button that enables navigation from the first screen to the second screen (Student Preview Screen).
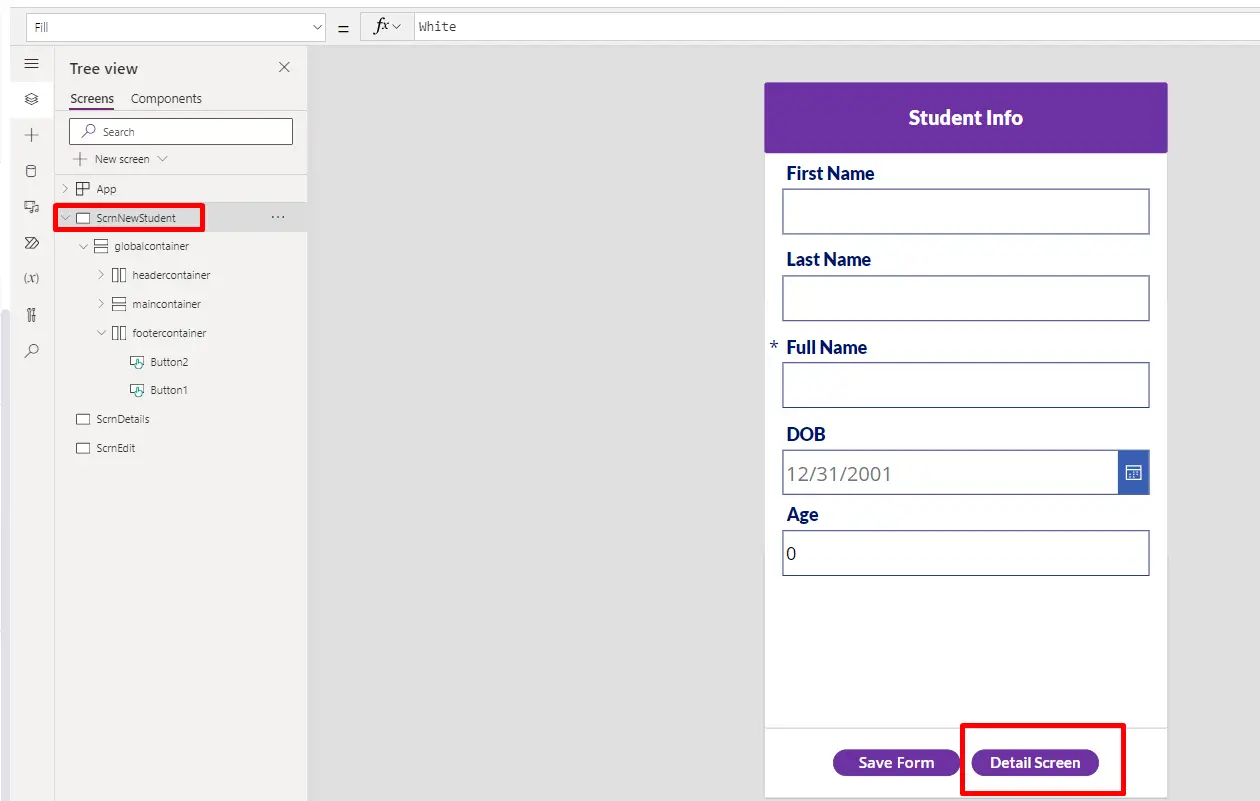
- Here I have copied and pasted all the elements of the new student screen so that I don’t have to add containers for the next screen.
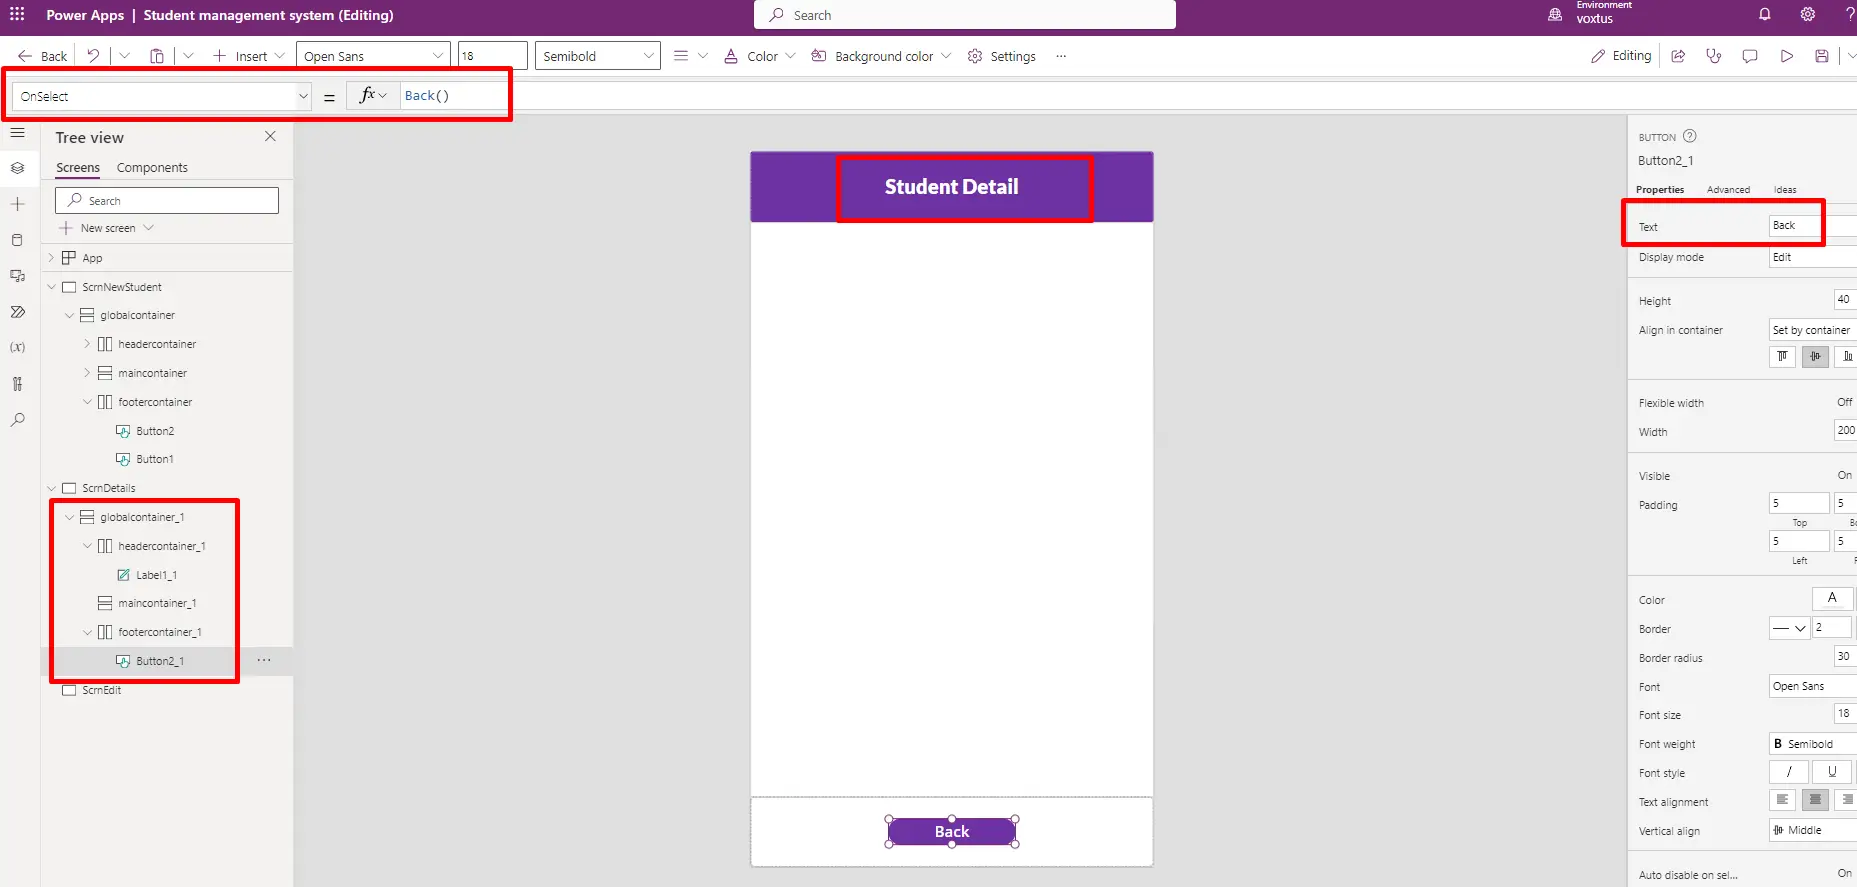
In the detail screen, after copying the data from the first screen, follow these steps:
- Select and delete the existing form from the detail screen.
- Remove one button, and rename the remaining button to "Back".
- Change the "OnSelect" property of the "Back" button to "Back()".
- Modify the text of the header text label as needed.
Now, in the detail screen, access the Insert menu from the top pane and choose the Vertical Gallery option. Select the appropriate data source for the gallery.
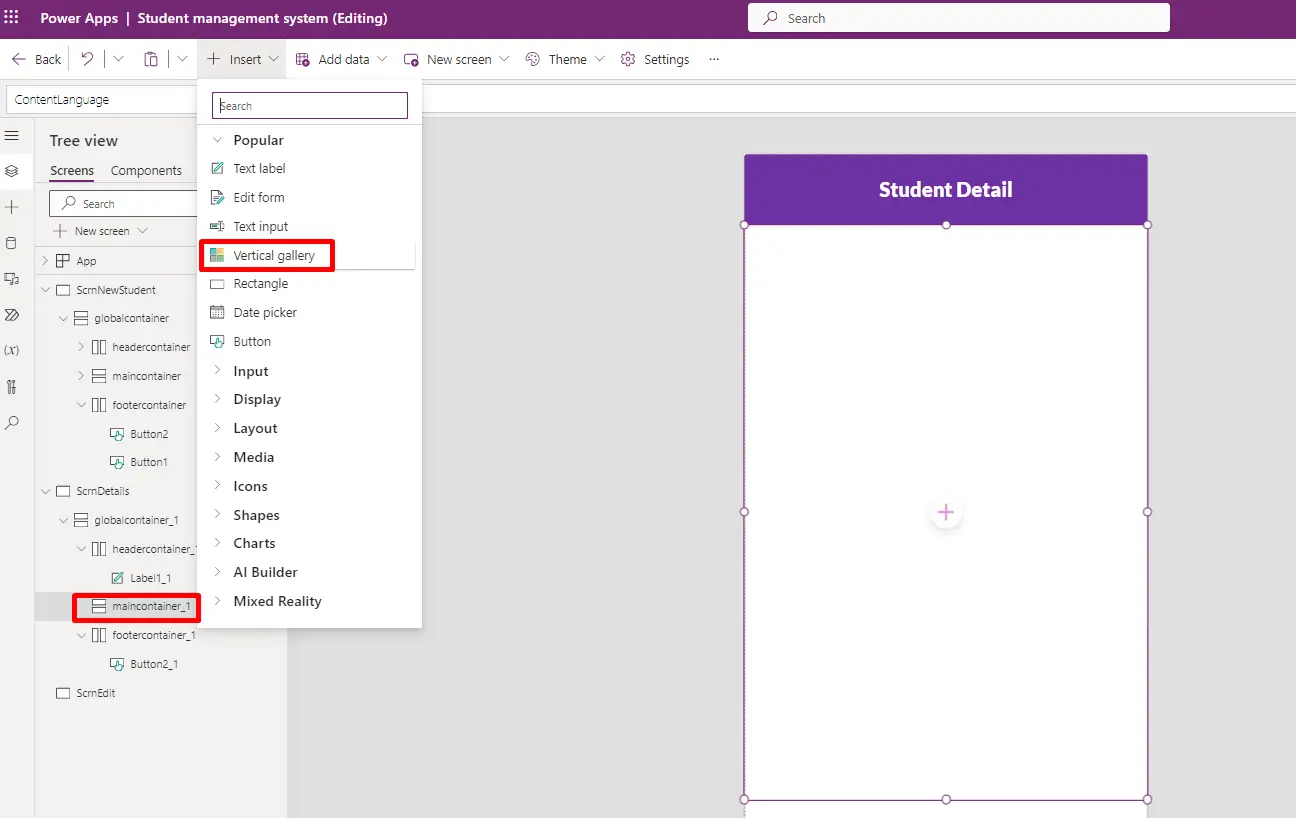
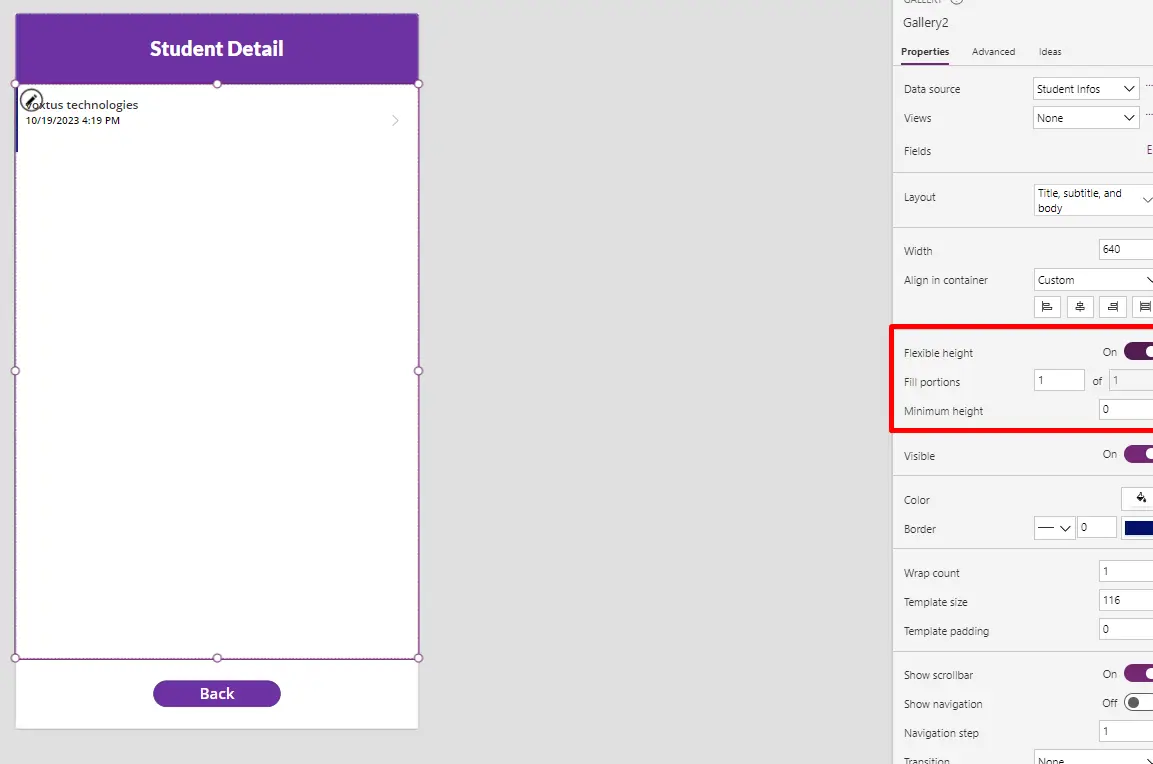
After adding the gallery, select it, and change its "Flexible Height" property to "ON". This will ensure that the gallery adjusts its height dynamically based on the content it contains.
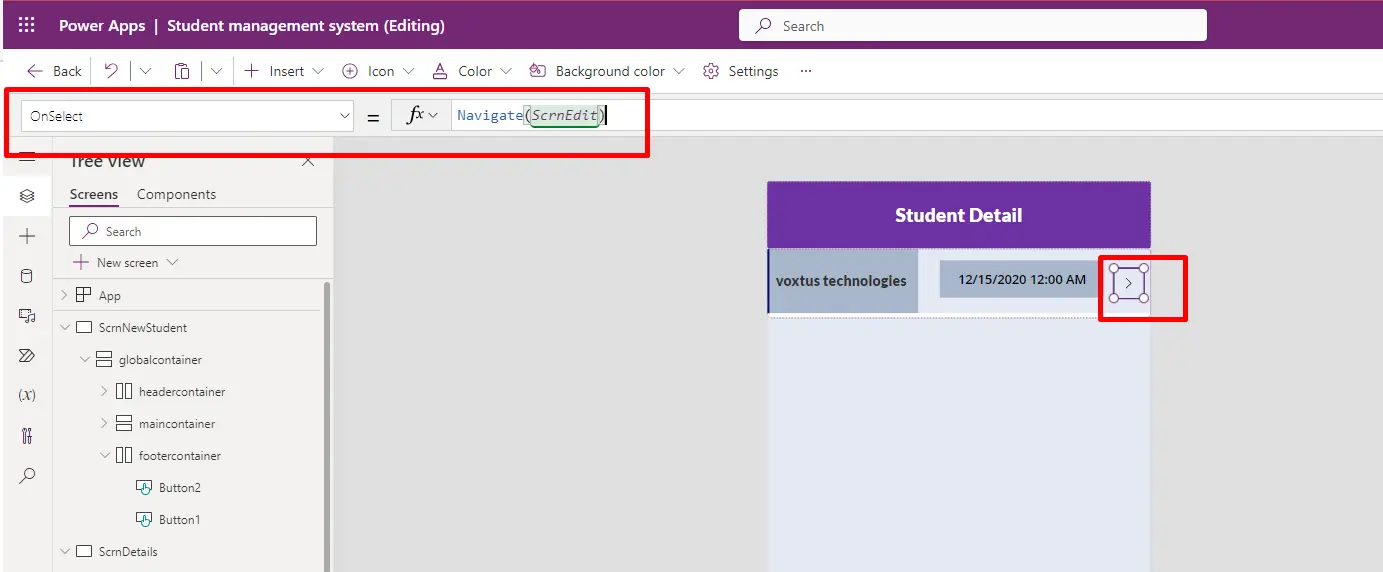
Within the gallery, select the "Next" button, and change its "OnSelect" property to the following: "Navigate(ScrnEdit)" This action will navigate to the "ScrnEdit" screen when the button is clicked within the gallery.
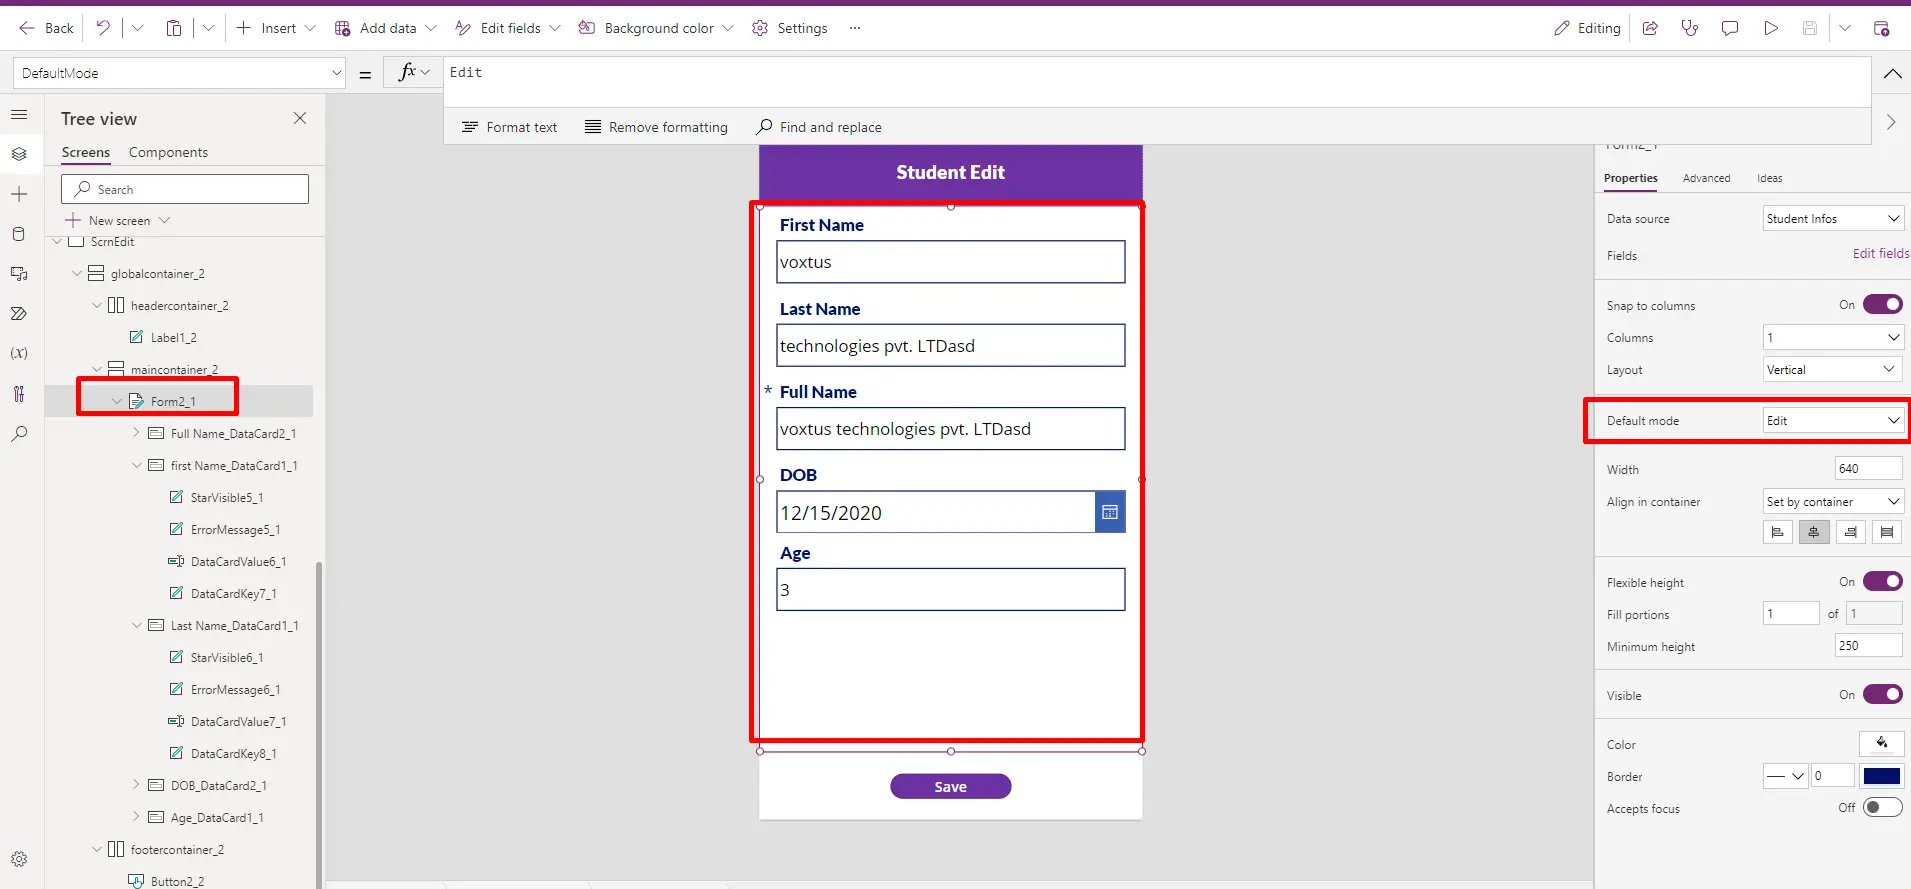
In the last Edit screen, you can simplify the process by copying and pasting all the elements from the first screen, which includes the header and footer components. This will save you from having to recreate the header and footer from scratch.
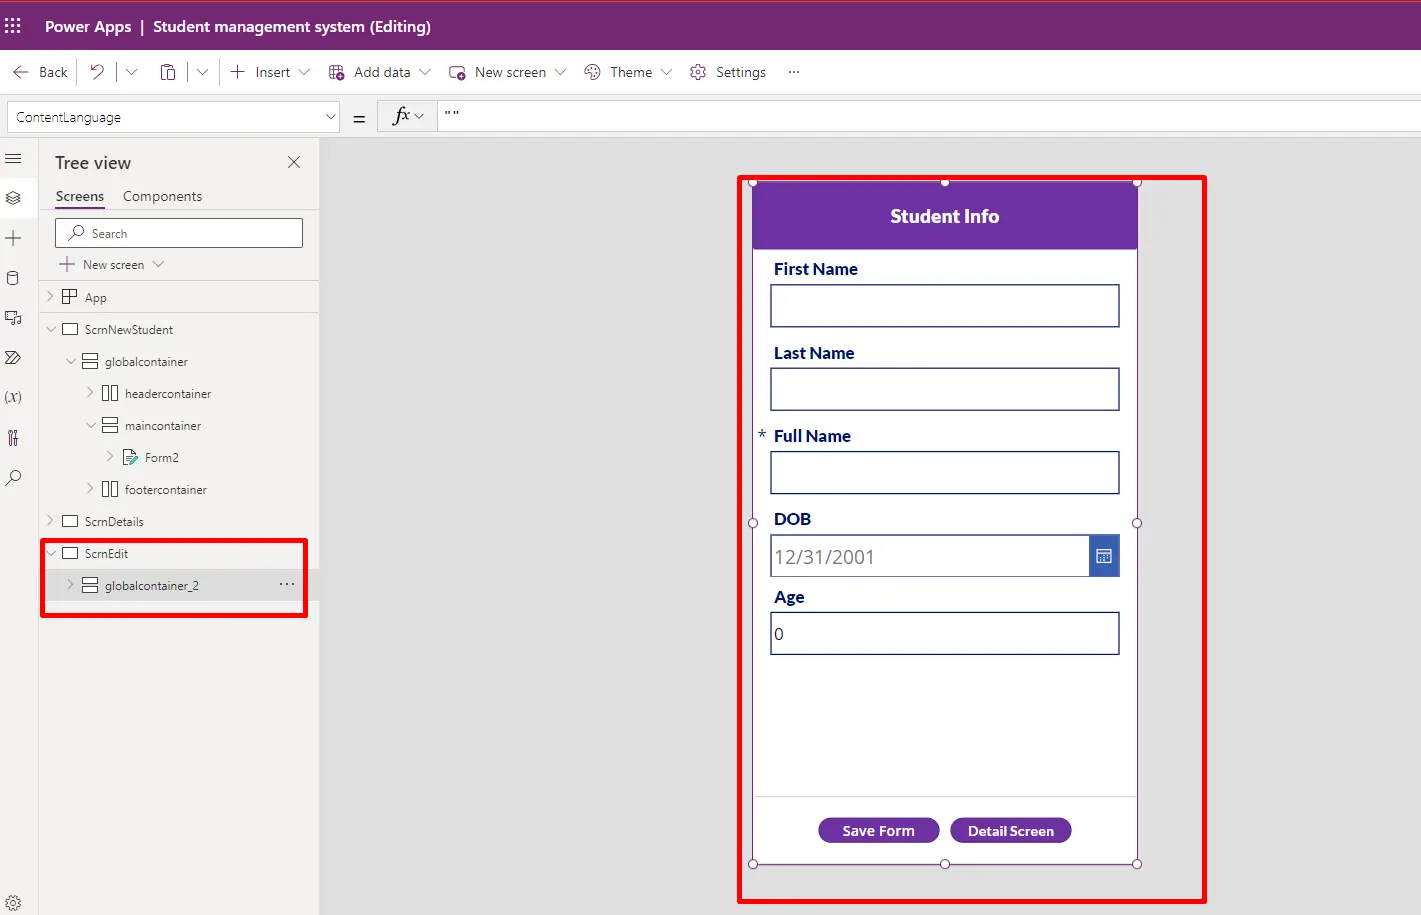
Since you've copied all elements from the first screen to the last Edit screen, you can now make any necessary minor adjustments and customizations as needed to tailor the screen to your requirements.
In the last Edit screen, make the following changes:
- Change the name of the header as required.
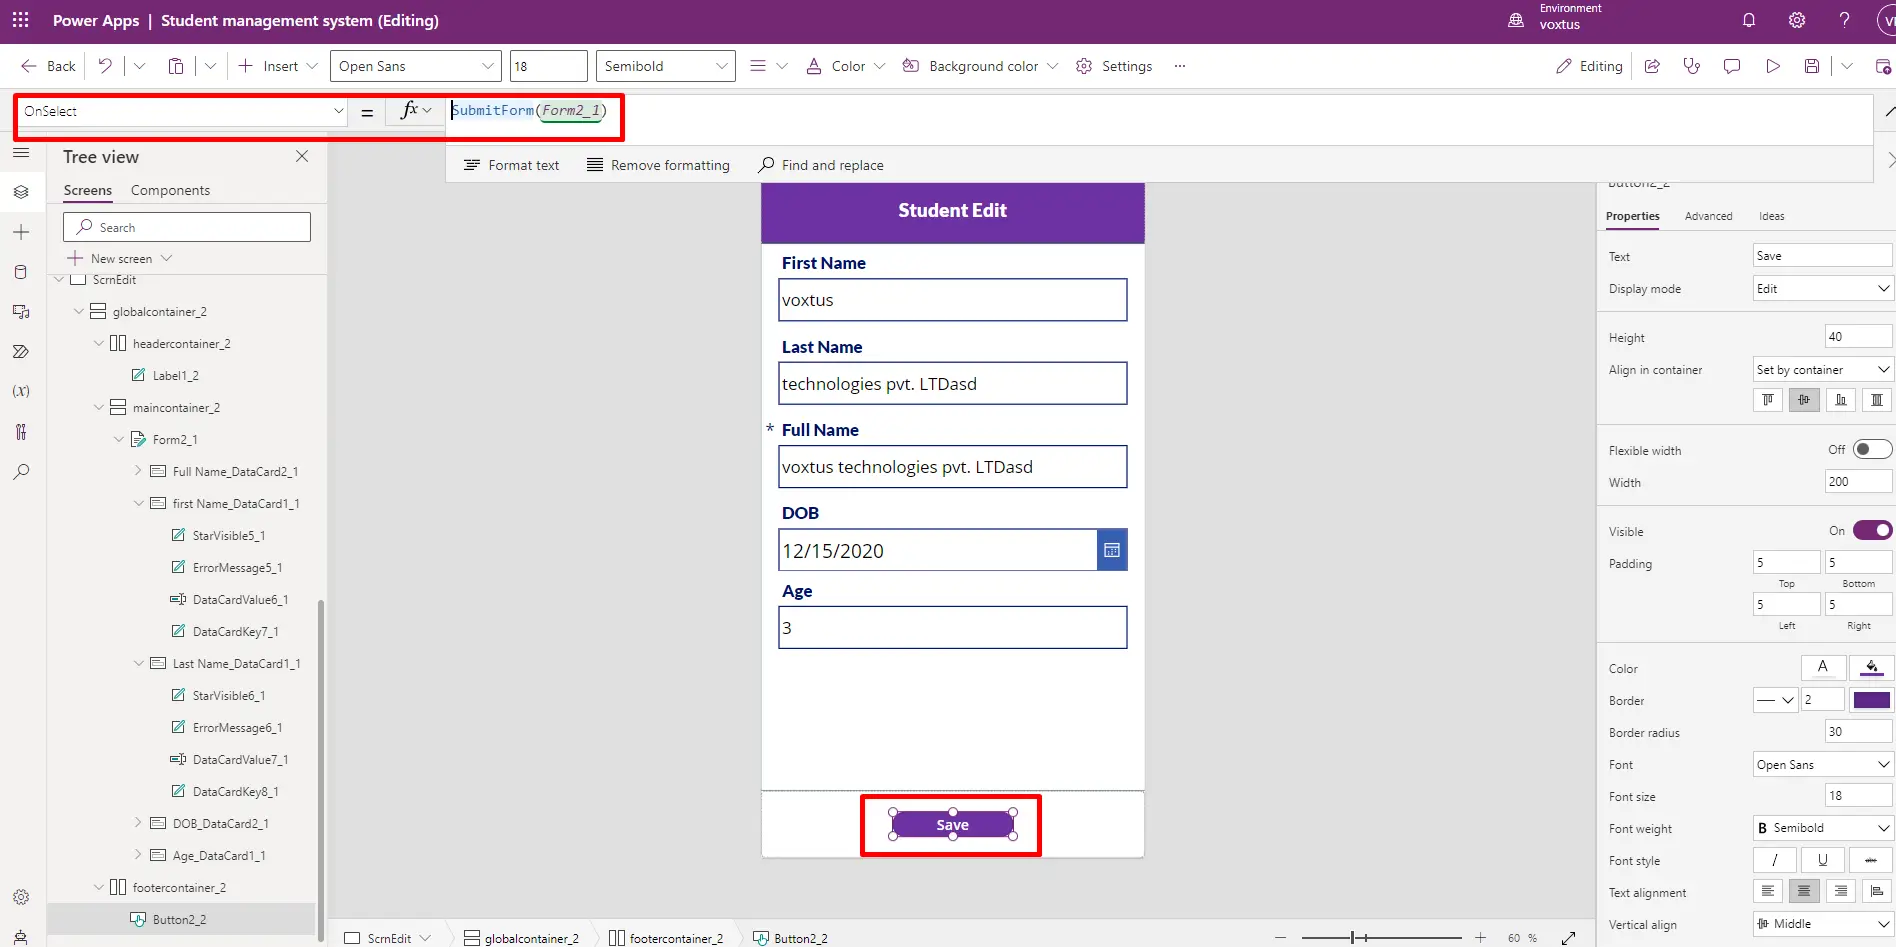
- Delete one button from the footer.
- Select the remaining button in the footer and modify its "OnSelect" property to the following: 'SubmitForm(Form2_1)'.
With these changes, you will be able to update records in the Dataverse when this button is clicked.
After that select the form and change its item property to
“Gallery2.Selected”.
And change the default mode of the form new to edit.
